(versión en Español)
Today we are going to talk about rust effects on scale models. We are going to do a quick approach to rusting techniques using pigments and a little oil paint.
 Rust is an important part of a weathered model, but as with any weathering technique it is easy to overdo it. We should be always very careful when applying it, understanding how rust develops, under what kind of ambient conditions and checking continously against reference material.
In nature, rust appears as a reaction of the metallic elements of a vehicle (for example) and oxigen. This reaction will be accelerated by the presence of water, specially salt water, and damped in dry ambient. Having said that, a vehicle abandoned on a beach will not rust in the same way as a vehicle operating on a desert. Weathering on your model should always be consistent with the conditions it is supposed to suffer.
We are try to quickly replicate four types of rust. It is going to be a little too quick, so the results will be certainly overkill, but this is just to see some easy techniques that produce very good rust finishes with little effort.
- Moderate rust over painted surface: The paint will have some rust points. This happens when water gets into a scratch and rust start to develop.
- Serious rust over painted surface : The rusted points have developed a lot over time, making a sort of craters on the paint. This kind of rust only develops on unattended vehicles on very wet conditions (or the ones belonging to a Chaos Army, of course...)
- Bare metal rusted away : Just a bare metal surface with some serious rust.
- Extremely rusted surface : This only happen when you have something rusting away during ages on a very wet ambient (like a beach).
Enough talk for the moment! Let's start working on it.
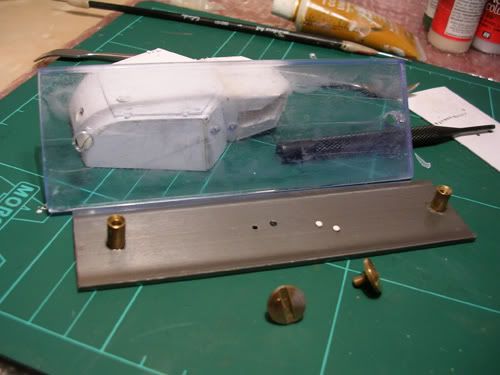
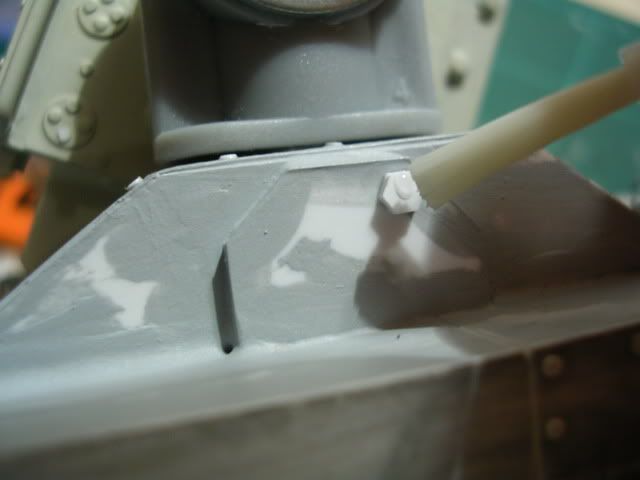
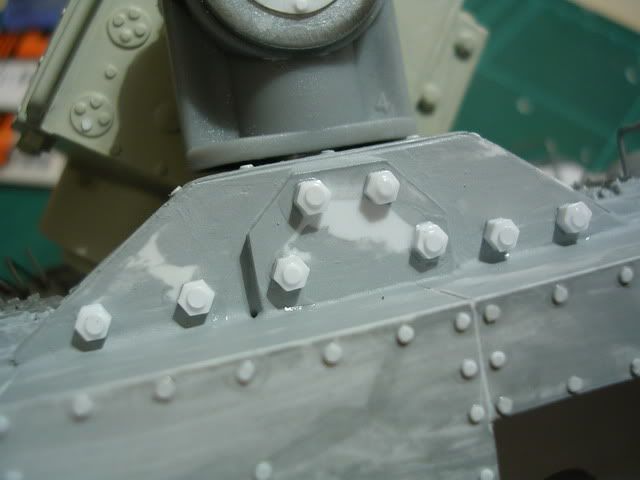
I have a resin miscast lying around that will serve for our purposes:

I do a quick priming job with some grey Vallejo paint and divide it in four regions. As this is going to be something really quick, I will not use an airbrush at all. Dry times will be sped up with a hairdryer.
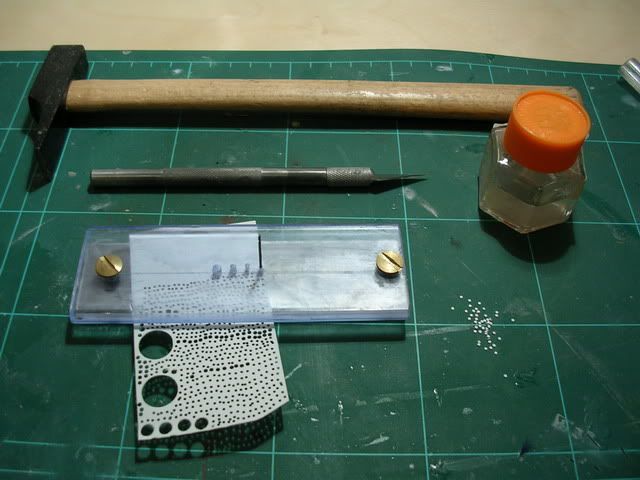
 I will need some texture for effects 2 and 4, so I start preparing some dilluted PVA.
 I apply it over area #4.
 And then I sprinckle bicarbonate over it, eliminating the excess.
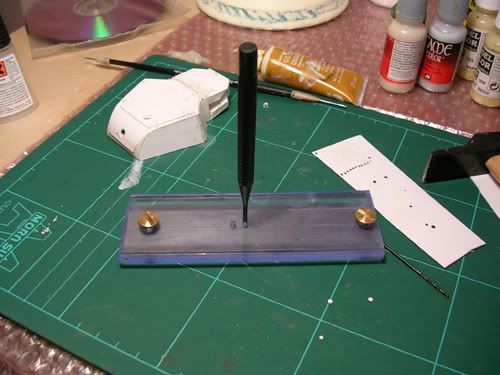
 I apply some PVA in area #2, on the places where I want a rust "crater" to break the paint and add more bicarbonate.
 Now I paint the rust craters on #2 and the entire #3 and #4 areas with a dark rust colour. In our case, I used Vallejo Panzer Aces 302 "Dark Rust". Once it is dry we have the undercoat ready.
 Now I protect the rust craters with some liquid mask. I used Vallejo Liquid Mask, but you could use Maskol or any similar product.
 Better apply it with a toothpick, because this stuff literally stucks to the paintbrushes, leaving them unusable. I also put little drops elsewhere for further weathering.
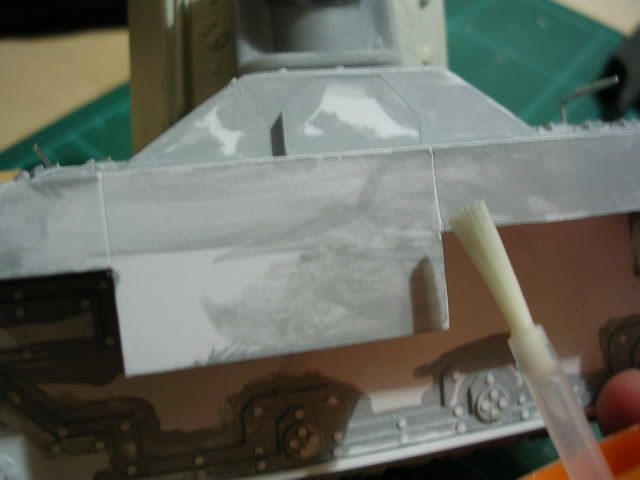
 Now we apply some paint coats. I do a 50/50 mix of acrylic paint and gloss varnish. I used Tamiya's X22 Clear and XF55 Deck Tan in our example.
The reason for the gloss varnish it's that it makes the paint much harder once dry, giving also a satin finish that is ideal for further weathering techniques. The only problem is that the paint will have less coverage, but as you normally use an airbrush to apply it this doesn't matter a lot. We also looked for a harder finish to develop the craters in #2.
As in this example we are not using an airbrush, I applied thin coats, drying them with a hairdryer. This had an unexpected and very interesting effect, as the varnish/paint mix will develop some cracks (exposing the undercoat) and texture when forced to dry. Something that we are going to use in our favor! (Although something to use very carefully in a plastic model, as you can literally melt the plastic!).
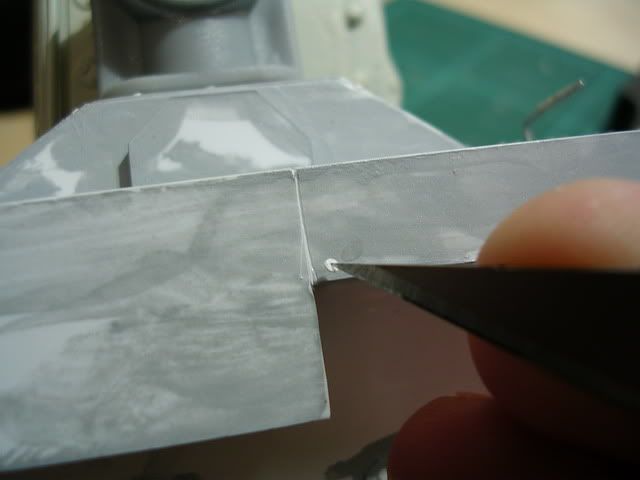
 Now we are going to carefully remove liquid mask with a cutter and a pair of tweezers. Don't worry if you leave some liquid mask on the borders, this is exactly the effect we want.
 This is the result.
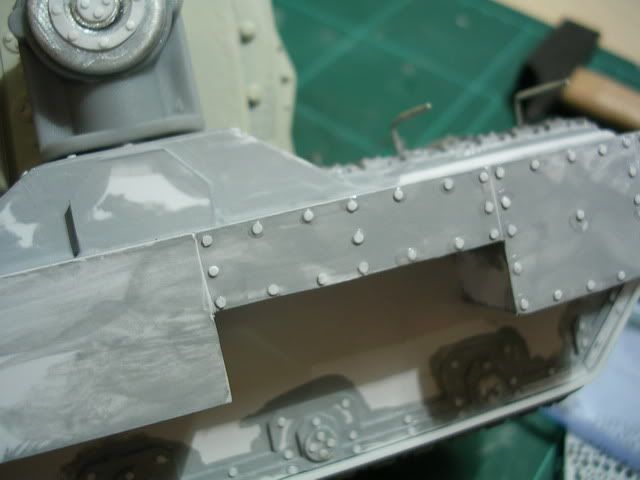
 Now, we are going to develop a bare metal finish for #3. Just rub a pure graphite stick over the undercoat and then burnish the graphite with your finger. You can add some reflects in silver, but it's not really neccesary.
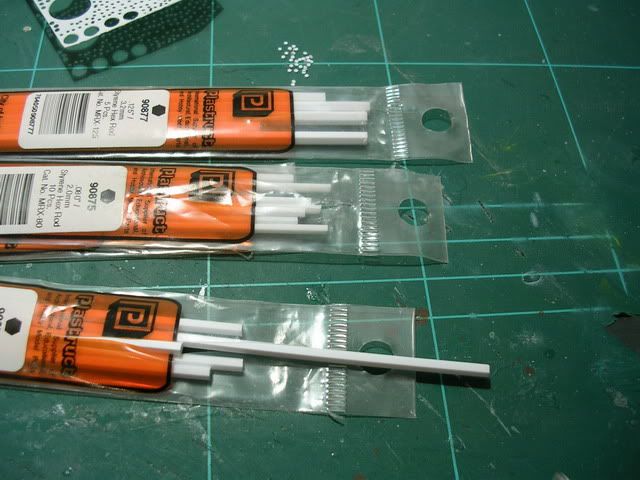
 Time for your trusty pigments. I use MIG pigments for many reasons. They have the right colours, they come in small quantities (lasting years of normal use) and I find they have a fair quality/price relationship.
MIG produces three rust shades atthe moment (and copper rust), but you can also use other pigments to gain chromatic variety. I normally use P230 Old Rust, P025 Standard Rust, P024 Light Rust, P033 Dark Mud and P031 Vietnam earth. But you can play with other shades... You never know when you are going to discover something new (as seen with the paint and the hairdryer before).
 Now we do a wash using odourless turpentine (Talens 089) and a little P230 Dark Rust. You could also use alcohol instead of turpentine, but as the paint is not cured overnight I would ruin everything in a matter of seconds. Better stick to the turpentine for now.
I apply the wash to the rusted areas, I dillute it even more and give an irregular glaze over the painted areas.
 We let it dry, and repeat the operation with P025 Standard Rust, letting dry again and then with P024 Light Rust. I dilluted the wash a bit more at each step. This is the result once everything is dry:
 Now we get a little Dark Umber oil paint. I used Van Gogh oils, but you can use any oil brand available. Do not try to substitute it with acrylics or gouaches. Water based products will not interact with the mineral spirits we are using here. And water do not have the right surface tension to do this effects (once you try a turpentine-based wash, there is no way back!).
 I paint some Dark Umber points over the painted areas.
 In theory, I should use my airbrush to pump turpentine at low psi over the oil paint. This will make the points fade and develop a nice rust point effect. As I am not going to use an airbrush, I just put some turpentine drops over the painted areas with an eyedropper and then I blended the point very carefully with a pointed brush.
This is the result once dry. It lacks some shadows and variety, as there are only rust effects everywhere. The light rust it's a bit excesive on this area, so I should have darkened it a bit with a dark wash. A last thing, if those rust points were on a vertical surface, I would have done rust streaks running down instead of letting them accumulate around the rust point.
 This is the metal area. Nothing to say here, although at this state it's a bit boring. I would probably had put some dust and more rust tones to make it more interesting.
 The Extra-Rusted surface is really easy to do. A bit monochrome... Maybe it still needs some light coloured washes to break monotony.
 And last, but not least... My favourite one. I would still darken the rust a bit, make some shadows and dust the area a little, but if you zoom on the image, you'll see that this technique gives a very realistic chipped paint texture effect. If the craters where more naturally placed and with just a bit more of work, the effect would be very realistic in deed.